Configuring the Create User Web Module
The Create User web module is used in conjunction with the Login and
Activate Account web modules. After a customer activates their account
via the Activate Account web module, they are emailed a link to the page
containing the Create User web module where they can set up their web
user information.
 Prior
to using this module, you must ensure that the Login and Activate Account
web modules are installed and configured. More information on the Login
and Activate Account modules can be found in the section, “Login
Web Module” and “Activate
Account Web Module”.
Prior
to using this module, you must ensure that the Login and Activate Account
web modules are installed and configured. More information on the Login
and Activate Account modules can be found in the section, “Login
Web Module” and “Activate
Account Web Module”.
To set up the Create User web module:
1. Log
into your site as Host.
2. Navigate
to the page on your site containing the Activate Account web module.
3. From
the Host toolbar, select the “Personify - CreateUser” from the Module
drop-down.
4. Click
Add Module To Page.
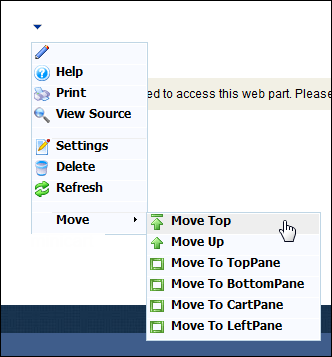
5. Move
the web module to the appropriate place on the page, as shown below.
The
Create User web module requires no setup. You will, however, need to edit
the Activate Account web module to point to this page. See “Activate
Account Web Module” for more information.
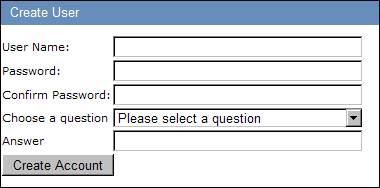
Customer Impact
After configuring the Create User web module, it may appear as follows
for a customer logged in to Personify e-Business:
To reach this page, a customer will have had to gone through the following
process:
1. The customer clicks Activate Account from the
login module or your organization’s website.
2. The
customer fills out the required information on the Activate Account screen
and is sent an email to their primary email address.
3. The
customer clicks the link within the email and is taken to the Create User
module.
4. The
customer fills in the information on the Create User screen and clicks
Create Account.
A new web user account is created and the customer is taken to their My
Account screen.