 Prior
to using this module, you must ensure that the Login web module is installed
and configured. More information on the Login module can be found in the
Login Web Module section.
Prior
to using this module, you must ensure that the Login web module is installed
and configured. More information on the Login module can be found in the
Login Web Module section.
The Activate Account web module is used in conjunction with the Login web module and allows an already existing customer in your Personify database, who does not have web access, to create a web account using either their customer ID, or name and email.
Prior
to using this module, you must ensure that the Login web module is installed
and configured. More information on the Login module can be found in the
Login Web Module section.
A
customer attempting to use this functionality must already have a customer
record in Personify and that customer record must have a primary email
address defined.
To set up the Activate Account web module:
1. Log into your site as Host.
2. Since
the Activate Account web module is called from the Login web module, you
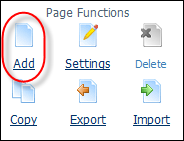
must first create a new page on your site. From the Control Panel, click
Add from the Page Functions
section as shown below.
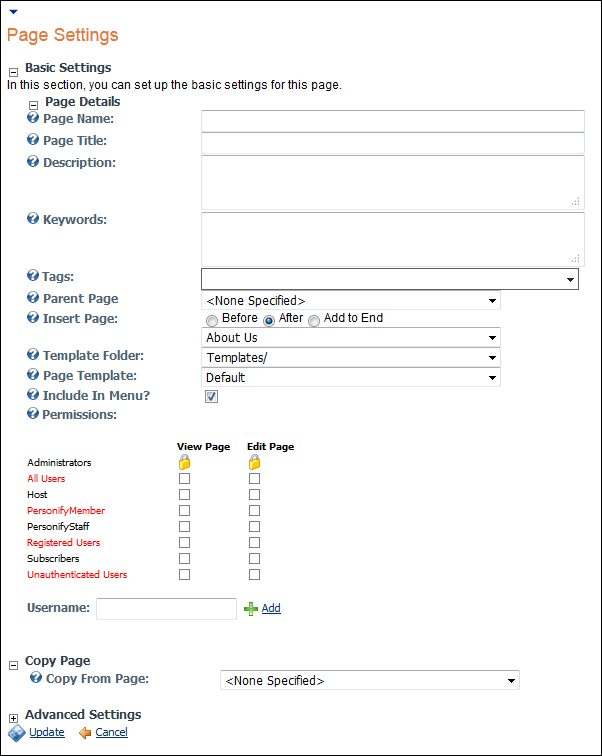
The Page Management screen displays:
For
more information on the Page Management screen, visit the DNN Online help
topic “Creating a New Page from a Template."
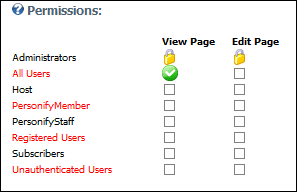
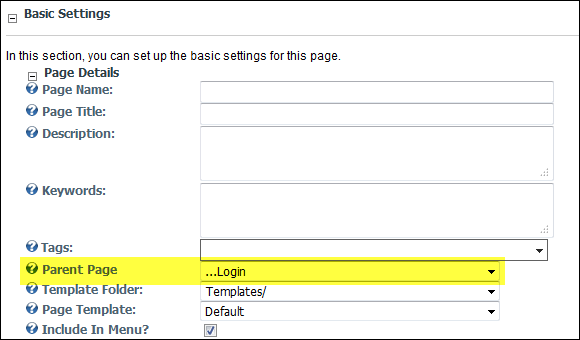
3. Ensure
that on the Page Management screen that you have set the view page Permissions
to “All Users” and the Parent Page as your Login page, as seen below:
4. Also,
ensure that the specified parent page has the Login web module.
5. Once you have set up the parameters for your page, click Update.
6. From the Host toolbar, select the “Personify-ActivateAccount” from the Module drop-down.
7. Click Add Module To Page.
8. Move
the web module to the appropriate place on the page, as shown below.
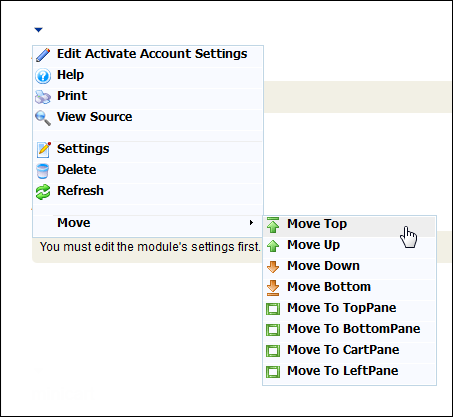
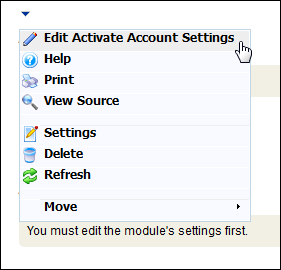
9. From
the web module menu, click Edit Activate
Account Settings.
10. The
following page displays:
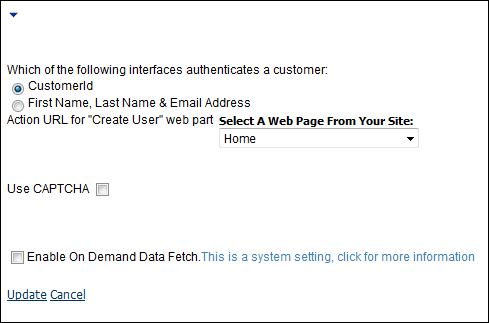
11. Configure the appropriate module settings as described below:
· Customer Id - Radio button. When this option is selected, the customer attempting to activate their account will enter their Personify customer ID in the provided text box. Upon authentication, an email is sent to the user, which contains a URL. When this URL is clicked, a web user account is created for the customer.
· First Name, Last Name, & Email Address – Radio Button. When this option is selected, the customer attempting to activate their account will enter their first and last name, and email address. Upon authenticating this information, the system will send an email to the user, which contains a URL. When this URL is clicked, a web user account is created for the customer.
· Action URL for “Create User” web part - Drop-down. This defines the page on your site the user will be sent to upon clicking the link in their confirmation email.
· Use CAPTCHA - Checkbox. When clicked, the user must enter a match of the CAPTCHA presented to them before continuing the account activation process.
12. Click Update.
You
now must edit your Login module to call upon this page when the Activate
Account link is clicked. See Login
Web Module for more information.
As mentioned earlier in this section, the Login web module must be properly configured for the customer to be able to reach the Activate Account module. You must set the Activate Account Action URL (on the Edit Login page) to the page you created at the beginning of this section.
Upon the customer’s clicking Activate Account within the Login Module, he/she is taken to the Activate Account page you created.
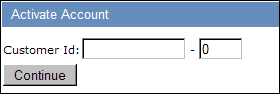
If you selected the Customer ID radio button during set up, the screen
will appear as below:
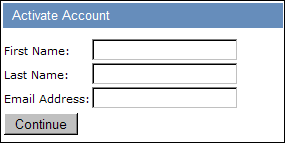
If you selected the First Name, Last Name, & Email radio button
during set up, the screen will appear as below:
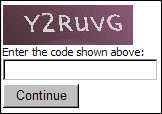
If you chose to include a CAPTCHA it would display below the authentication
fields, as below:
After entering the proper information and clicking Continue, the user
is prompted with a message telling the user to check their email:

The email will contain a message similar to the one below:

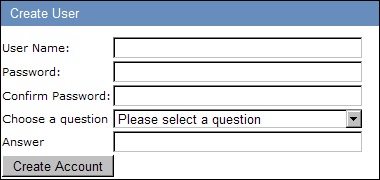
Upon clicking the link, the user is taken to the page defined in step
7 (this should be the Create User page). On this page the user can create
a User Name, Password, and Security Question and Answer.
Upon clicking Create Account, the user’s web account is created and they can continue using your website.