Donations over the web should be as easy for the user to accomplish as possible. The goal of the One-Click Donation web module is to allow someone to simply click on a link on a web page and give the donation without having to worry about their username or password. The One-Click Donations web module allows your customers to make donations to a fundraising product without having to log-on to the website.
To configure the One-Click Donations web module:
1. Log into your site as Host.
2. Navigate to the appropriate page on your site where you want to add the One Click Donations web module.
3. From the Host toolbar, select the “Personify - One Click Donations” option from the Module drop-down.
4. Click Add Module To Page.
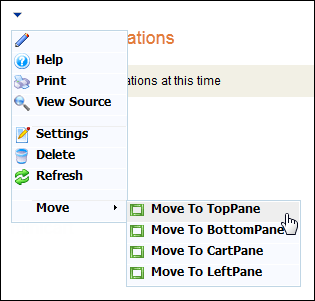
5. Move the web module to the appropriate place on the page, as shown below.
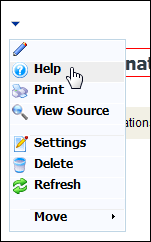
6. From the web module menu, click the edit icon.
The following page displays:
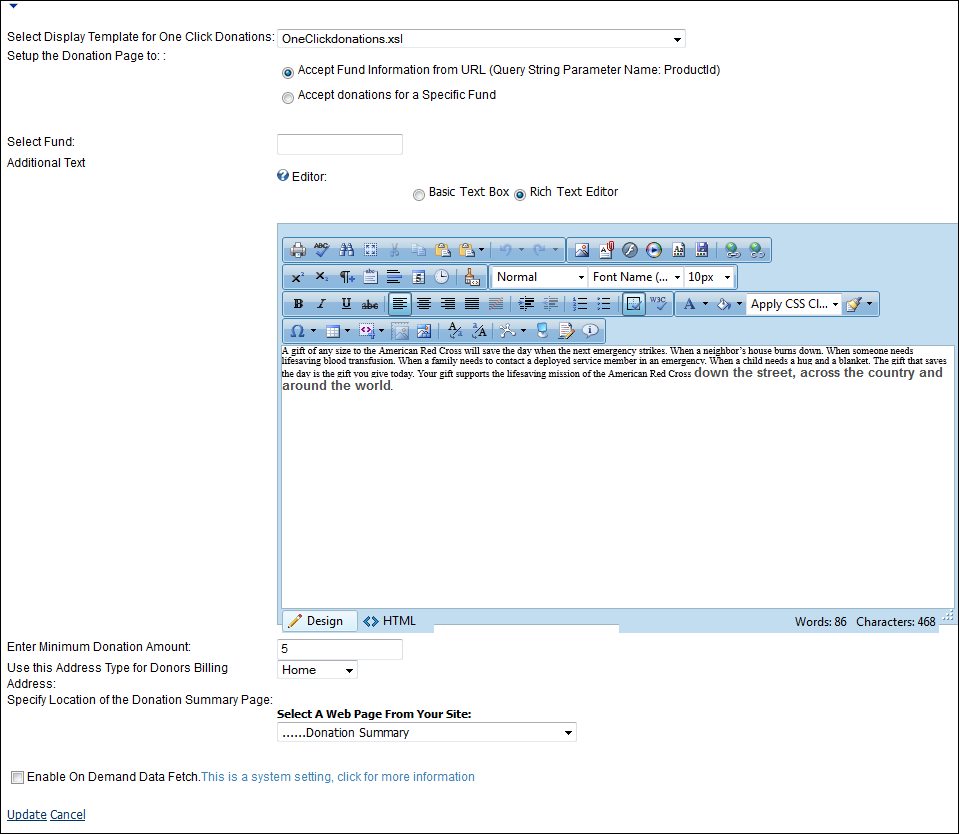
7. Configure the appropriate module settings as described below:
· Select Display Template for One Click Donations - Drop-down. Allows you to select the template in which the One-Click Donations module will display in.
· Setup the Donation Page to - Radio buttons. This parameter sets how Personify will receive information on the fundraising product. Options are:
o Accept Fund Information from URL – This option passes the fundraising product ID from the Product Detail page to the One-Click Donations module.
o Accept Donations for a Specific Fund – The module obtains the fundraising product’s information based upon the entered product ID. This allows you to not make customers visit the Product Detail module before donating.
· Select Fund - Text box. If the Accept Donations for a Specific Fund radio button is selected, enter the fundraising product’s product ID here.
· Additional Text - Text box. This allows you to enter any additional information about the fundraising product. This can be done in a basic text format or in a rich text.
· Enter Minimum Donation Amount - Text box. This allows you to set the minimum donation amount the customer is allowed to make.
· Use the Address Type for Donors Billing Address - Drop-down. When a customer uses the One-Click Donations module, a customer record is created. When the customer’s information is received and the customer is not a duplicate, this specifies how the address will be saved in the system. For example, as the Home address, Business address, Seasonal address, etc.
Personify only makes a new customer record if there is a 0% duplicate customer match. If there is a 100% match, a duplicate customer record is created.
If there is any duplicate customer match percentage between 0-100, the information is logged to the tables within the Online Duplicate Customer Merge screen in the back-office where you can select merge the potential duplicate customers.
· Specify Location of the Donation Summary Page - Drop-down. Allows you to specify the web module you want the customer to be sent to upon clicking “Make a Donation.”
8. Click Update.
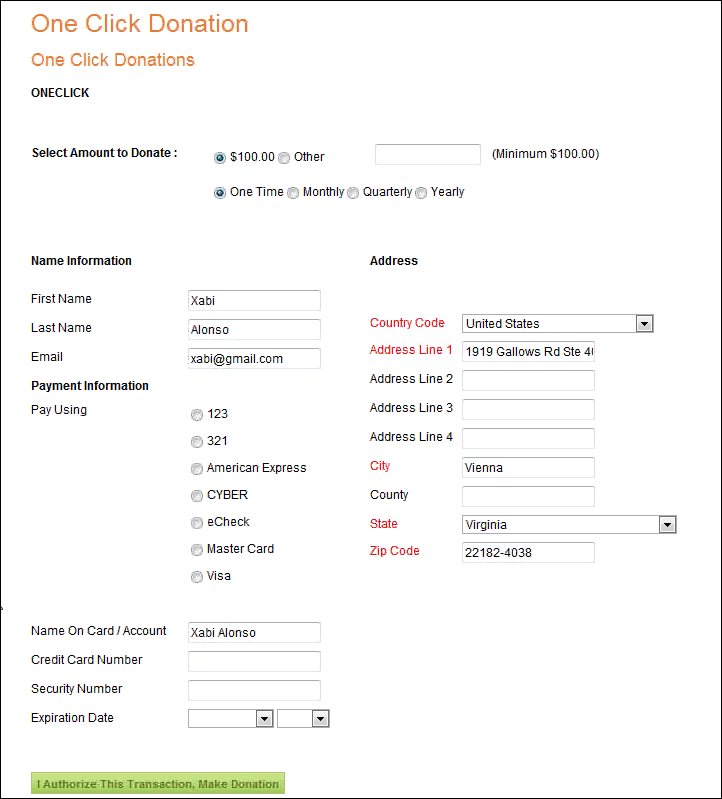
After setting up the One-Click Donations web module, it may appear, as below, to your customers.