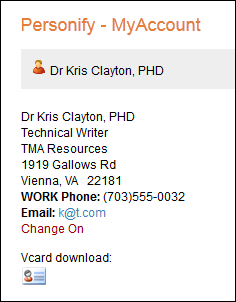
The following page appears:
The My Account web module allows you determine how you want your account page to display. You can use this module to design the appearance of the details page from a customer search. Before you can actually configure the web module, you must first check your settings and make sure that the views are properly set.
To configure the My Account web module:
1. Log into your site as Host.
2. Navigate to the appropriate page on your site where you want to add the MyAccount web module.
3. From the Host toolbar, select the “Personify-MyAccount” option from the Module drop-down.
4. Click Add Module To Page.
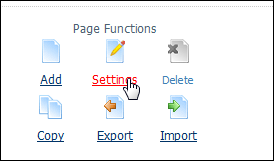
5. From
the Page Functions section of the Control Panel, click Settings.
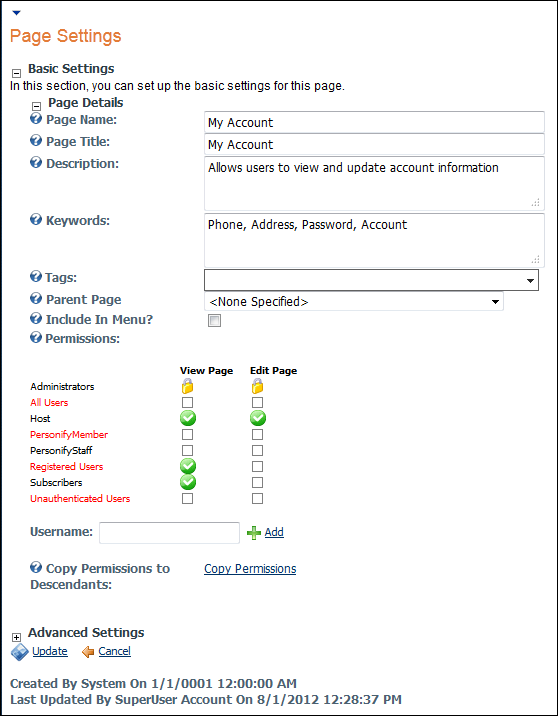
The following page appears:
6. Deselect Inherit View permissions from Page and make sure the Member Only, Registered Users, and Subscribers checkboxes are checked.
7. Click
Update.
You are returned to the module view.
8. Move
the web module to the appropriate place on the page, as shown below.
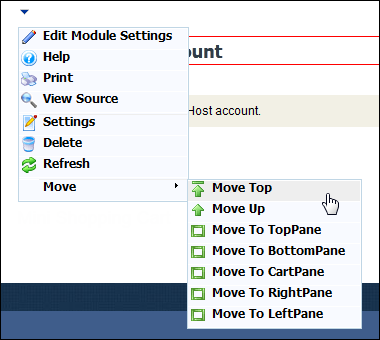
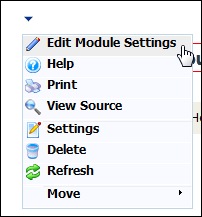
9. From
the web module menu, click Edit Module
Settings.
The following page displays:
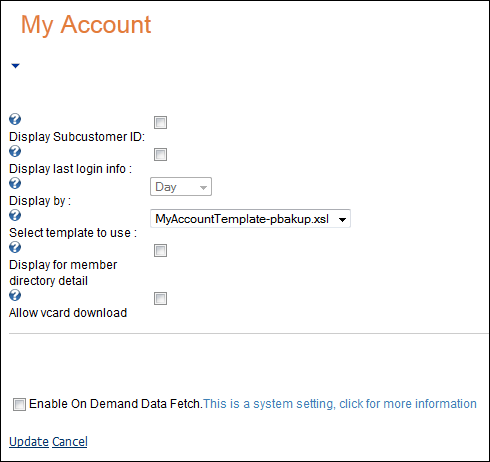
10. Configure the appropriate module settings as described below:
· Display last login info - Checkbox. Displays the last login of the customer. Displays the amount of time since last login by either number of days, weeks, or months.
· Display by - Drop-down. Using this drop-down you can select in which format the last login information displays (days, weeks, months). Only becomes active if “Display last login info” is checked.
· Select template to use - Drop-down. This setting lets you select either the default template or any other template that you may have created to present customer account information using the My Account web module.
· Display for member directory detail - Checkbox. This allows you to select, for security reasons, whether or not you want this customer’s detail information to display in the dynamic search results.
· Allow Vcard download - Checkbox. When checked, allows other customers to download this customer’s Vcard information. If this checkbox is checked, select the Link Type:
o URL – If the URL radio button is selected, a text box displays. Enter the URL you want the user to be directed to upon clicking the Vcard.
o Page – If the Page radio button is selected, a drop-down box displays. Select a page from your site you want the user to be directed to upon clicking the Vcard.
11. Click Update.
After setting up the My Account module, it may appear, as below, to
your customer.