The Mini Shopping Cart web module can be thought of as a “light” version of the Shopping Cart web module. This web module simply displays the number of items in your shopping cart and the subtotal.
To configure the Mini Shopping Cart web module:
1. Log into your site as Host.
2. Navigate to the appropriate page on your site where you want to add the Mini Shopping Cart web module.
3. From the Host toolbar, select the “Personify-Mini Shopping Cart” option from the Module drop-down.
4. Click Add Module To Page.
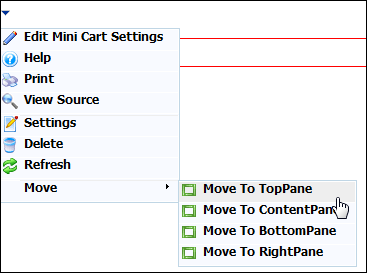
5. Move the web module to the appropriate place on the page, as shown below.
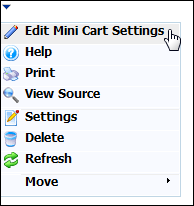
6. From the web module menu, click Edit Mini Cart Settings.
7. The following page displays:
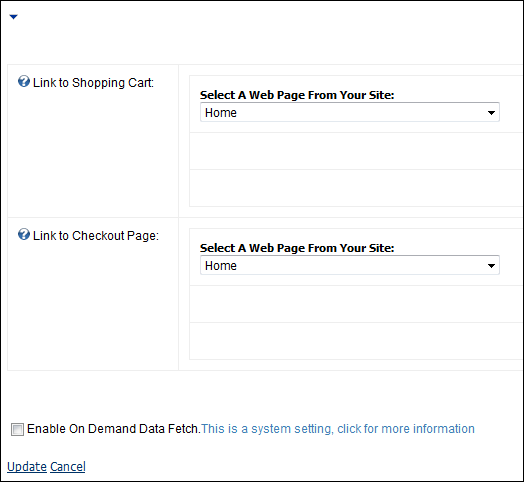
8. Configure the appropriate module settings as described below:
· Link to Shopping Cart - Drop-down. This setting allows you to link the mini shopping cart to the Shopping Cart page.
· Link to Checkout Page - Drop-down. This setting allows you to link the mini shopping cart to the Checkout page.
9. Click Update.
After setting up the Mini Cart module, it may appear, as below, to your customer.
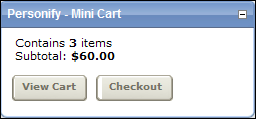
Once you add items to your shopping cart from your online store, the mini shopping cart will also change to reflect the number of items you have in your cart and, if applicable, the subtotal.