The Certification Listing web module allows associations to make certification programs available on the Web. This module displays information on certification setup in Personify to be available on the Web. This web module works in conjunction with the Certification Detail web module.
Once you have installed and set up your web module so that it is displayed in your site, you must configure it to work with your website.
To configure the Certification Listing web module:
1. Log into your site as Host.
2. Navigate to the appropriate page on your site where you want to add the Certification Listing web module.
3. From the Host toolbar, select the “Personify - Certification Listing” from the Module drop-down.
4. Click Add Module To Page.
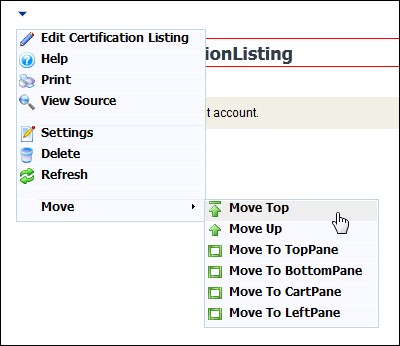
5. Move
the web module to the appropriate place on the page, as shown below.
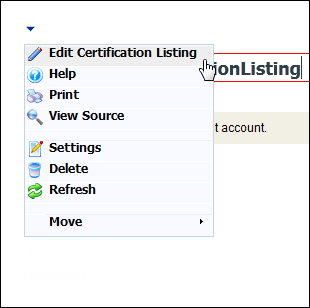
6. From
the web module menu, click Edit Certification
Listing Settings.
7. The
following page displays:
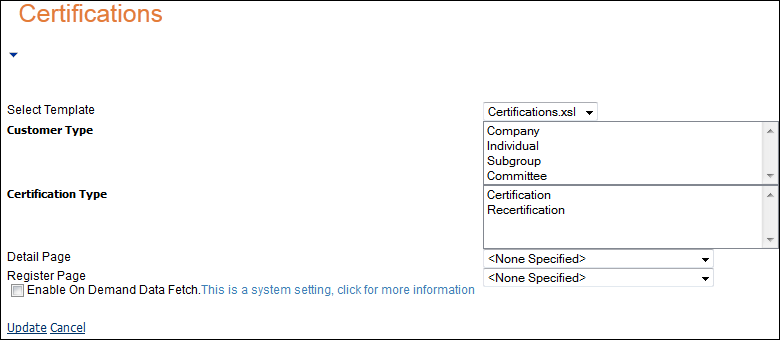
8. Configure the appropriate module settings as described below:
· Select Template - Drop-down. This drop-down lets you select the desired template to apply to your module. The available template is called Certifications.xsl.
· Customer Type - Text box. This option lets you select the type of customer to display.
· Certification Type - Text box. This option lets you select the type of certification to display.
· Detail Page - Drop-down. This drop-down lets you select which page to display to view the certification detail page.
· Register Page - Drop-down. This drop-down lets you select which page to display to view the registration page.
9. Click Update.
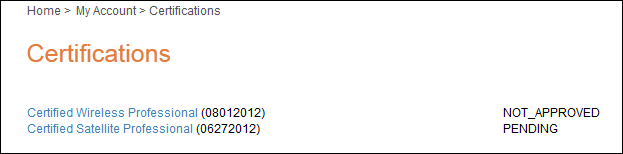
After setting up the Certification Listing web module, your customers will see the module as displayed below.