The Insertion Order Speed Form displays, as shown below.
To create a new insertion order:
1. From
Advertising Central, click the Insertion Orders icon in the Insertion
Orders section.
The Insertion Orders search screen displays.
2. Perform a search for the customer for which you want to create an insertion order.
3. Highlight
the row of the customer and click Create new Order.
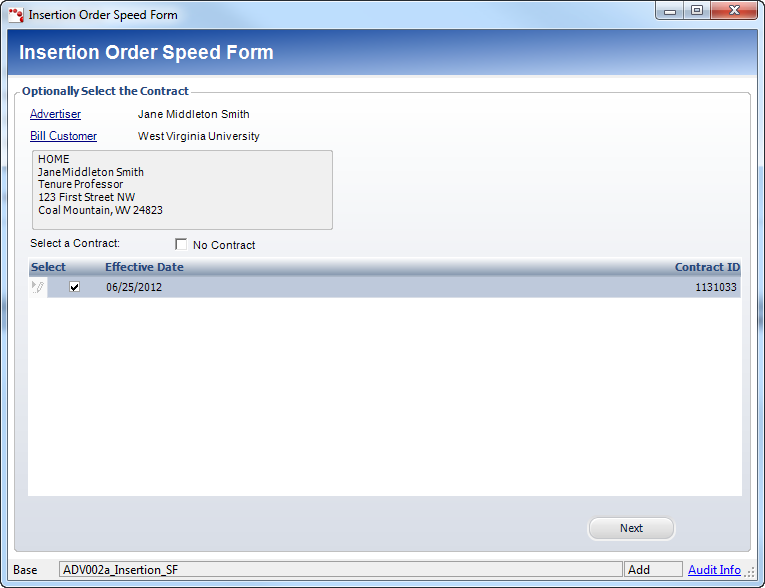
The Insertion Order Speed Form displays, as shown below.
4. Select a contract from the grid, or, if no contract is necessary, click the No Contract checkbox.
 The
contracts available in this section are those that have been created previously
for the selected customer. Most insertion orders will require a contract.
It is important to select the correct contract as many pricing details
and rate codes are imported from the selected contract. For more information,
please see Creating
a New Advertising Contract.
The
contracts available in this section are those that have been created previously
for the selected customer. Most insertion orders will require a contract.
It is important to select the correct contract as many pricing details
and rate codes are imported from the selected contract. For more information,
please see Creating
a New Advertising Contract.
5. Click
Next.
The Select the Media group box displays, as shown below. If you selected
a contract on the previous screen, only media defined for the selected
contract display. For more information, please see Adding
Included Media.
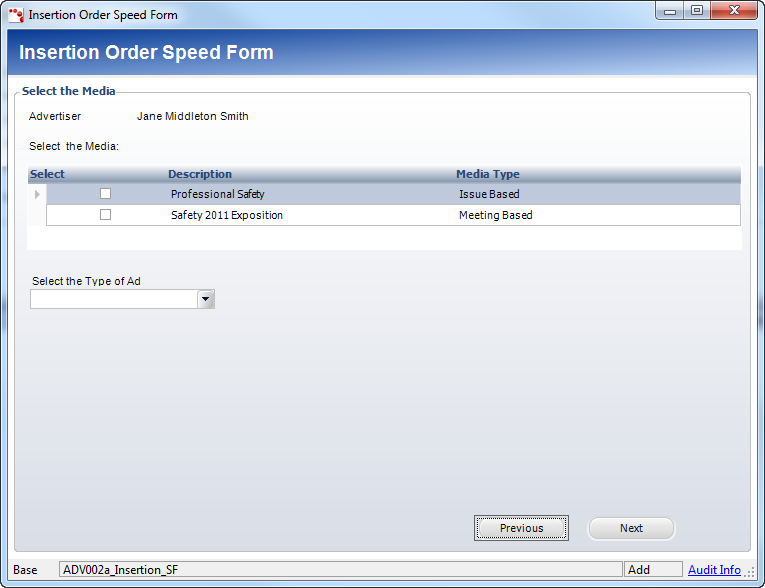
6. Select the Media that is connected to the contract selected in Step 4.
7. Select the Type of Ad from the drop-down.
If
the selected Media Type is “Issue Based,” a table displays at the bottom
of the Speed Form. This table displays each issue of the Media Type. Select
the issue(s) in which the advertisement will appear.
8. Click
Next.
The products, as related to the media and product type, display, as shown
below.

9. Select
a product from the grid.
A list of surcharges for the product display.
Surcharges
are additional fees for color, premium-position, placement of advertisement,
etc. They are created by selecting Color Surcharge, Premium Position,
or Miscellaneous Surcharge on the Advertising Product Maintenance General
Setup screen. Surcharges are “non-master” products in Personify. Personify
supports both flat-fee surcharge pricing and percentage-fee surcharge
pricing.
10. Click
Next.
The available surcharges display, as shown below.
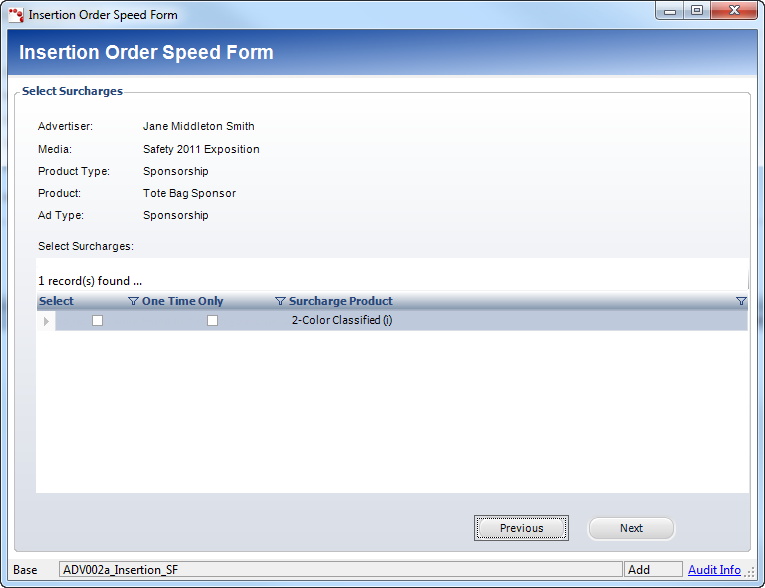
11. Select the surcharge(s) that apply to this.
Certain
surcharges are used only for the first insertion order. To accommodate
this, there is a “One Time Only” checkbox. This determines whether the
surcharge will be duplicated for all lines or only appear under the first
insertion.
12. Click
Next.
The publication issues display, as shown below.
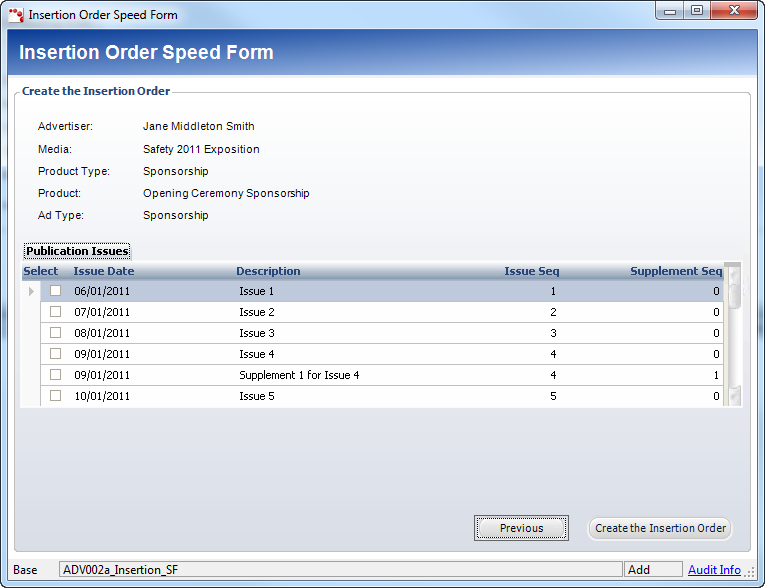
13. Select the publication issue(s) that apply to this order.
14. Click
Create the Insertion Order.
The Insertion Orders details screen displays. The information from the
selections made in the Speed Form now populates the fields on this page.
You can add other products to this order by using the Product Chooser
window on the left-hand side.